

Test previewPrices and checkout are not yet available
SETUP & EVERYDAY USE

KumandaLink setup and everyday use

Follow the steps from Wi-Fi connection and QR device setup to remote pairing and routines. Get LiyaTech support for setup and everyday use.

KUMANDALINK USER GUIDE

From setup to everyday use.

Jump to the help you need for Wi-Fi, adding a device or everyday control. During pairing, follow the on-screen instructions for your remote and receiver model.

01

Have these items ready.

You will need the following equipment and information during setup:

  • Your KumandaLink device and its power cable with plug.
  • A working handheld remote for the system you want to control.
  • The name and password of the Wi-Fi network you will use.
  • A phone or tablet with a browser; you can also access the web panel from a computer.
  • The QR code or ownership key supplied with your device.
  • If you also want open/closed status, one additional status sensor for each independent system you want to monitor.
02

Connect the device to power and Wi-Fi.

KumandaLink uses its own Wi-Fi setup screen for the initial network connection.

  1. Connect the device to a power outlet using its power cable.
  2. Press and hold the BOOT button on the device to enter Wi-Fi setup mode.
  3. Use your phone’s Wi-Fi settings to join the setup network broadcast by the device.
  4. In the setup screen that opens, select your Wi-Fi network and enter its password.

If the setup network or screen does not appear, contact support with your device model and a description of what you see.

03

Pair using your working remote.

Select the correct channel for each independent product and follow the learning or pairing screen for your model.

  1. First check that the product works with its existing handheld remote.
  2. When prompted, press the remote button for the command requested on screen.
  3. Teach the OPEN, STOP and CLOSE commands supported by your model in the on-screen order, then check the pairing result.

Available commands depend on your existing remote and receiver. Your handheld remote remains available after pairing.

04

Sign in to your KumandaLink account.

Use the web app in the browser on your phone, tablet or computer.

  1. If you already have an account, sign in with your email address and password.
  2. If you are new, select “Register” and enter your first name, last name, email address, password and password confirmation.
  3. When registering, enter the verification code sent to your email address.

If you cannot remember your password, use the “Forgot password” link on the sign-in screen.

Open the control panel
05

Add the device to your account.

After signing in, open “Add Device”. There are three ways to use the QR code or ownership key:

  • Scan with the camera: Allow camera access and position your device’s QR code inside the scanning area.
  • Use a photo: Select a photo of the QR code through the gallery or image-upload option.
  • Enter the key: Type the complete ownership key in the manual entry field and add the device.

Check that the device appears in “My Devices”. Keep your ownership key out of support messages and publicly shared photos.

06

Try each product individually first.

Check that every channel controls the intended product before setting up groups or schedules.

  1. Select the channel while you are in a position to see the product you will control.
  2. Try the commands supported by your system and check that the intended product responds.
  3. Repeat this check on the separate channels for your other independent products.

If commands do not work as expected, contact support with your remote and receiver model details.

07

Plan your everyday controls.

Use the device’s “Routines” section to schedule commands on selected days of the week.

  1. Add a new routine and select the command to run.
  2. Set the time and choose the days on which it should run.
  3. Enable an email notification for the routine if you want one, then save.

Turn off the active/inactive switch to pause a routine without deleting it. Use the delete option to remove routines you no longer need.

08

Share access without sharing your password.

The device owner can create invitations for family members or staff in the “Share” section.

  1. Select the level of access the person should have when creating the invitation.
  2. Share the generated invitation link or QR code with that person.
  3. They sign in with their own account and accept the invitation.

Review existing access in the authorised users section. Use the removal option next to a person to remove their access.

Menu and button names may vary with the interface version you use.

Need a hand with a step?

Contact LiyaTech support with your device model and the message shown on screen.

Explore support answers
AT HOME AND AWAY

How does control work at home and away?

Use KumandaLink on the same Wi-Fi network at home or through your phone’s internet connection when away. Open/closed status requires one additional status sensor for each independent system you want to monitor.

Away from home, using mobile data

Your phone and KumandaLink do not need to share a Wi-Fi network when both have internet access. Control your compatible systems remotely.

Internet down, Wi-Fi still working

Keep using local control without internet when your phone and KumandaLink share the same working Wi-Fi network.

Open/closed status with an additional sensor

Use one additional status sensor for each independent system whose open/closed status you want to monitor. The sensor does not measure intermediate positions or opening percentage.

Your remote and saved settings

Your existing handheld remote stays available. Pairings and settings are retained after a power interruption.

If the internet connection at home goes down, access from outside the home is unavailable. Local control on the same working Wi-Fi network and the handheld remote remain available. Get connection support

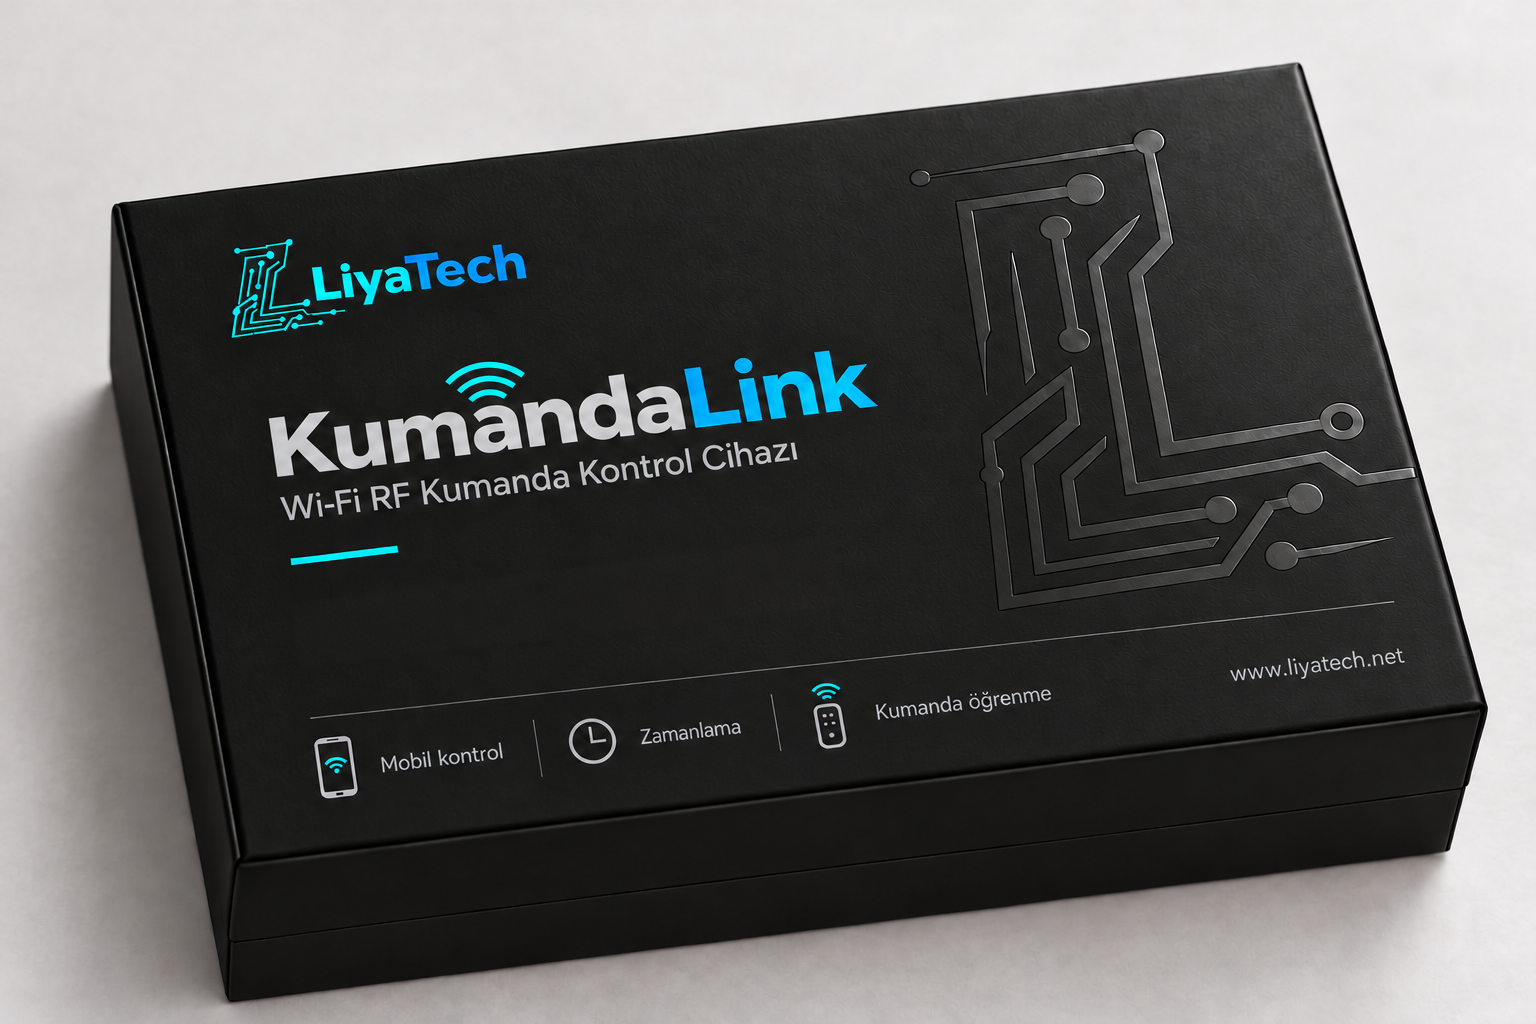
KumandaLink black and turquoise packaging conceptPackaging concept
FROM BOX TO EVERYDAY USE

What is in the KumandaLink box?

  • KumandaLink device
  • Power cable with plug
  • User guide
  • Warranty document

In-stock products are dispatched within 3 business days. This is dispatch time, not delivery time.

2-year warranty. Setup support and warranty service are provided by LiyaTech.

START WITH THE RIGHT MODEL

Let’s check the right fit for your system.

Check compatibility
YOUR KUMANDALINK SELECTION

Your cart (0)

Choose your first model.

Explore KumandaLink 1, 5 or 15 Channel to fit your needs.

View models